The Process of Bow Making

The process is started with the selection of pernambuco for my next bow, taking special care that the wood is going to be well suited to the model of bow I’m going to make. Though there are some substitutes, pernambuco is still the best wood for violin family bow making.

After roughing out the stick to my first graduation dimensions I carefully start to heat the bow with an alcohol lamp and bend it by hand across a rough form. In this way I create the camber and make sure the stick remains straight.

Next, I create the shape and side angles of the tip and put on the ebony liner and tip plate. For this cello bow I used a Tip Armor tip plate which is made from epoxy and cotton. It is a very durable material and due to the weaved pattern cannot be mistaken for Ivory.

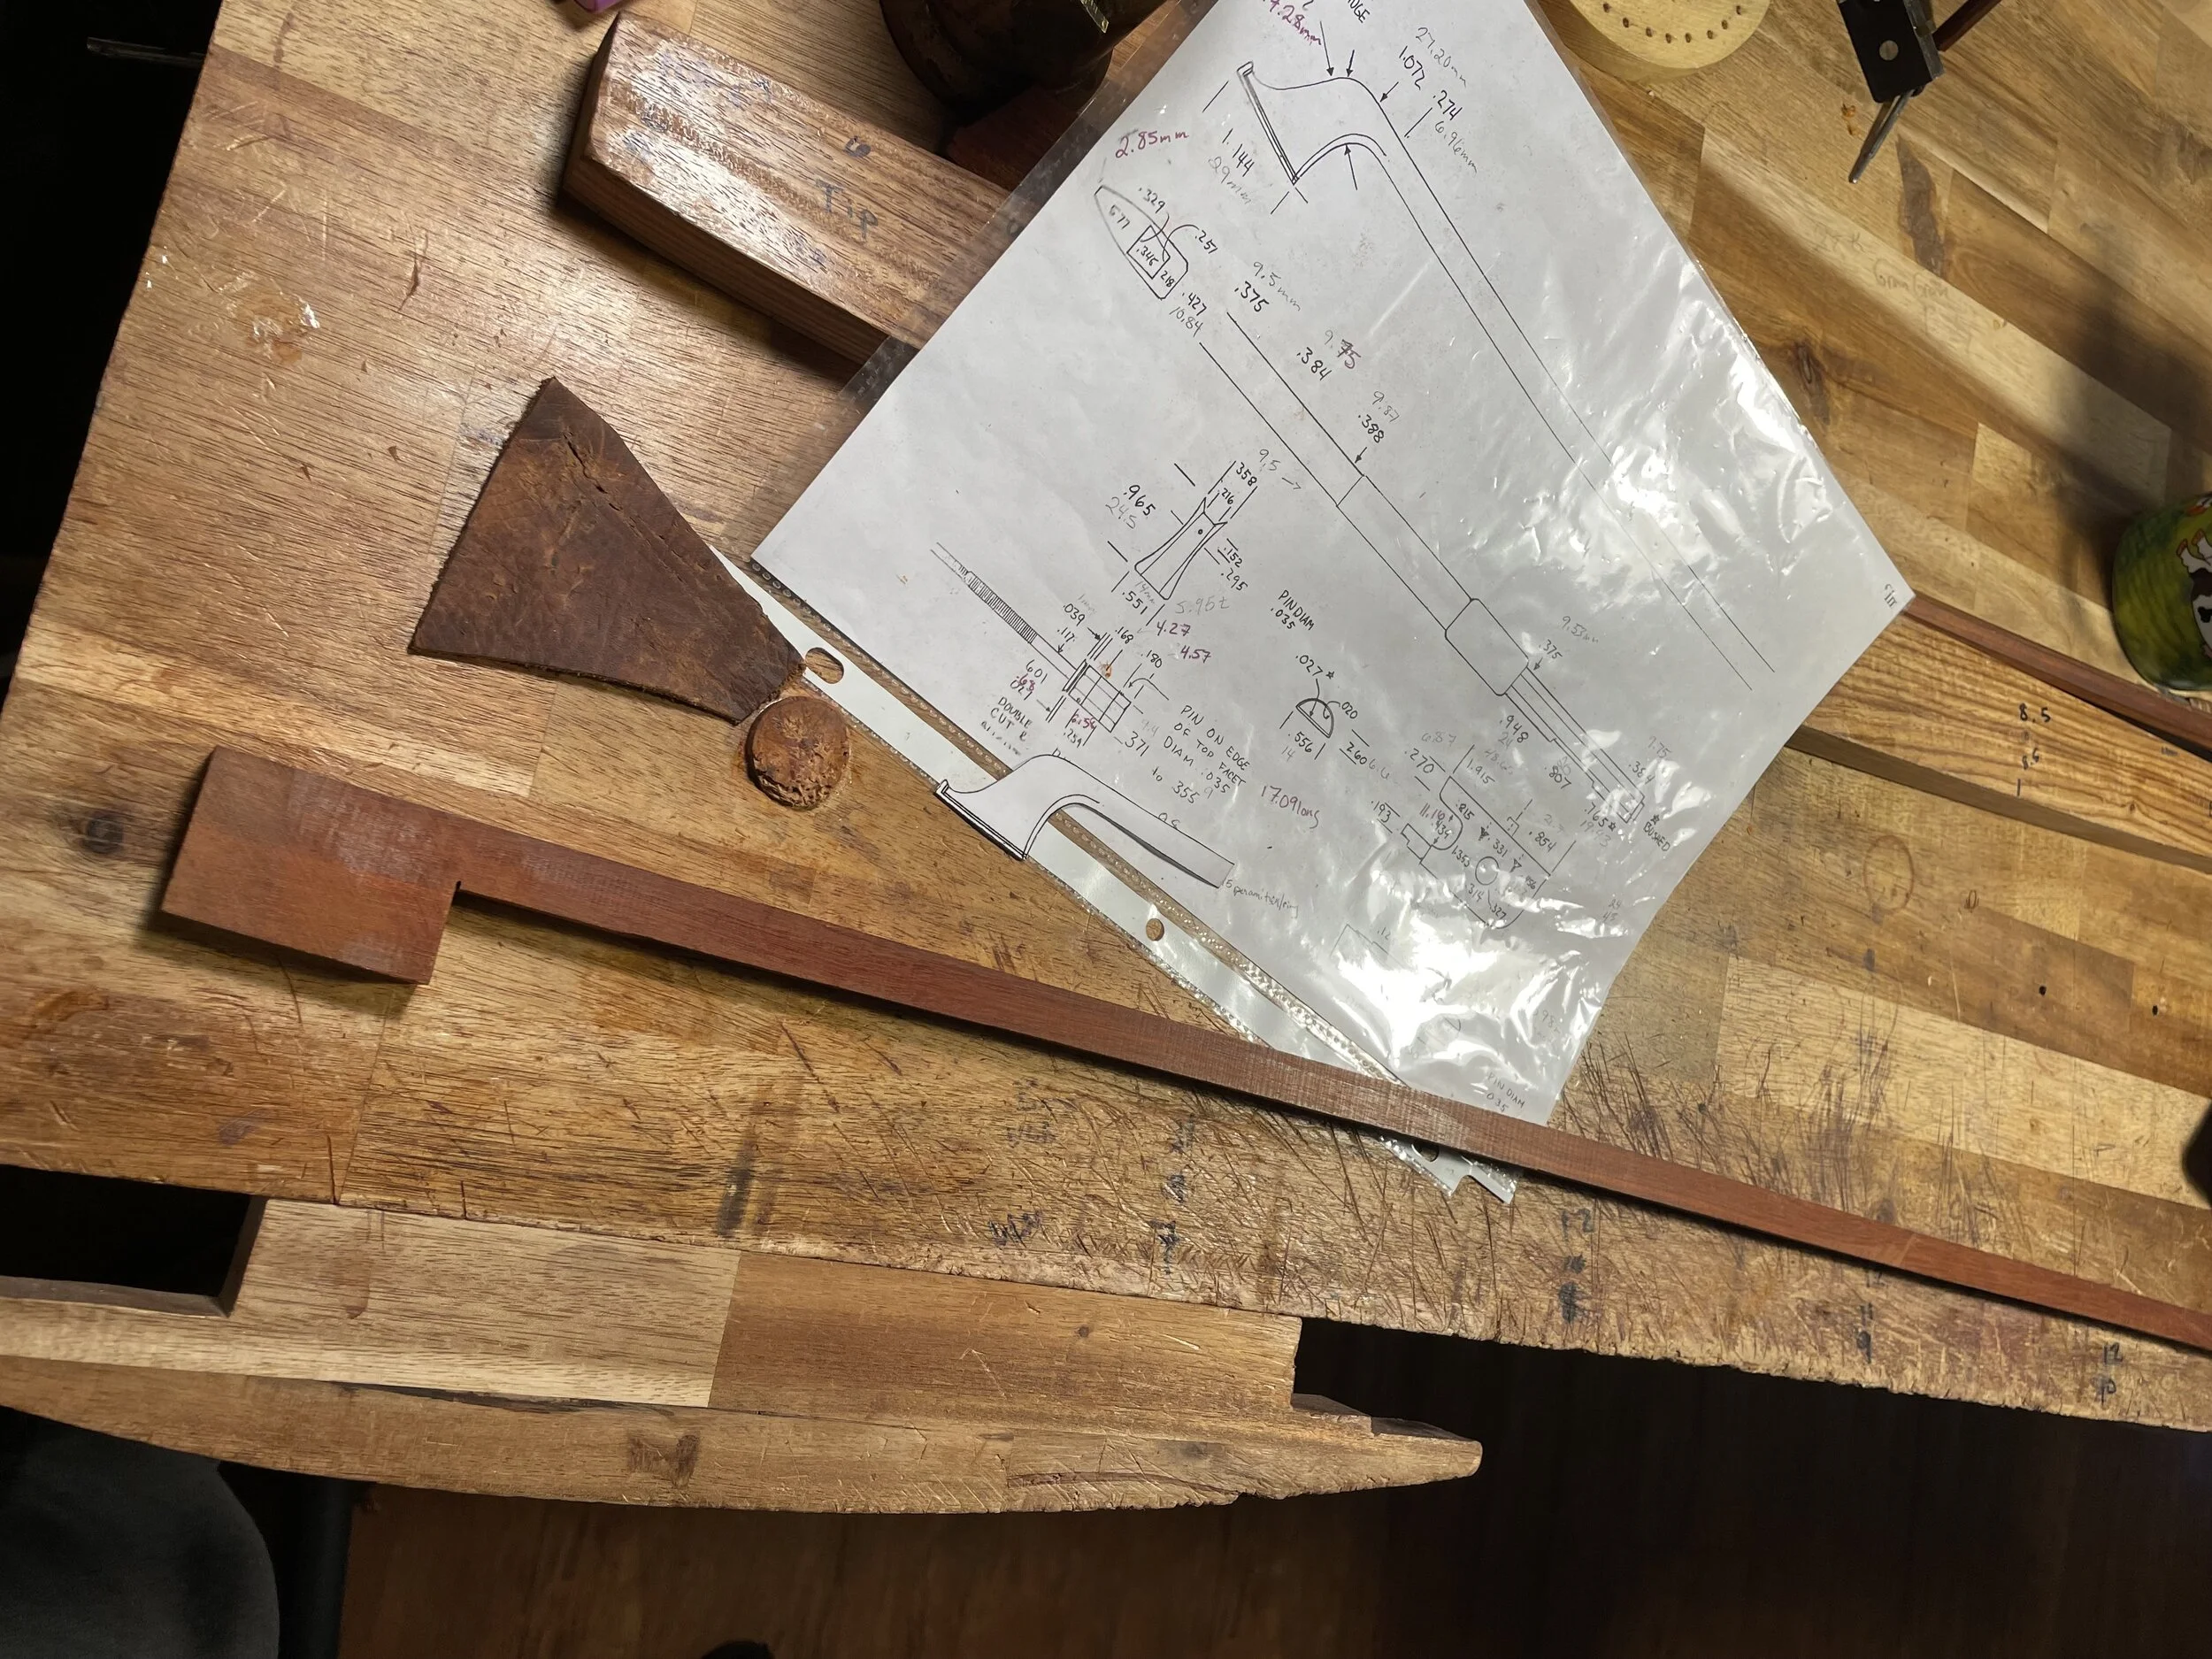
Here I am rough shaping the profile of the bow. I chose to model this cello bow after the French maker Pierre Simon who made bows during the 1800’s. I try to honor his style while adding a bit of my own personality to the shape.

Setting aside the stick I then begin to make the frog. After soldering together the sterling silver ferrule I pick a piece of ebony to make the frog.

After a little work the ferrule is fit to the frog and the height, width and length of the frog are determined.

The slide channel on the top and the heel plate channel along the back are then chiseled out. The slide channels depth is about 1.5 mm and the heel plate channel is .5 mm deep

The rounded cello heel plate is then bent and placed in the channel. This will be secured with a few silver pins. At this point the frog mortise that will hold the hair and wedge is also carved out.

A pearl slide is then shaped to fit the channel perfectly. No gaps allowed.

The slide channel is the part that will have the most contact with the stick so I must be extra careful to carve out the slide channel perfectly flat and square. The silver underslide is then fit to the channel and glued in place. This will protect the ebony from wearing out against the stick.

The brass eyelet and pearl eyes are then put in. The sides and profile are also shaped at this time. I’ll take a moment here to look at my spec sheet and make sure I’m following my model’s profile.

Next, I start the button by soldering together two sterling silver rings.

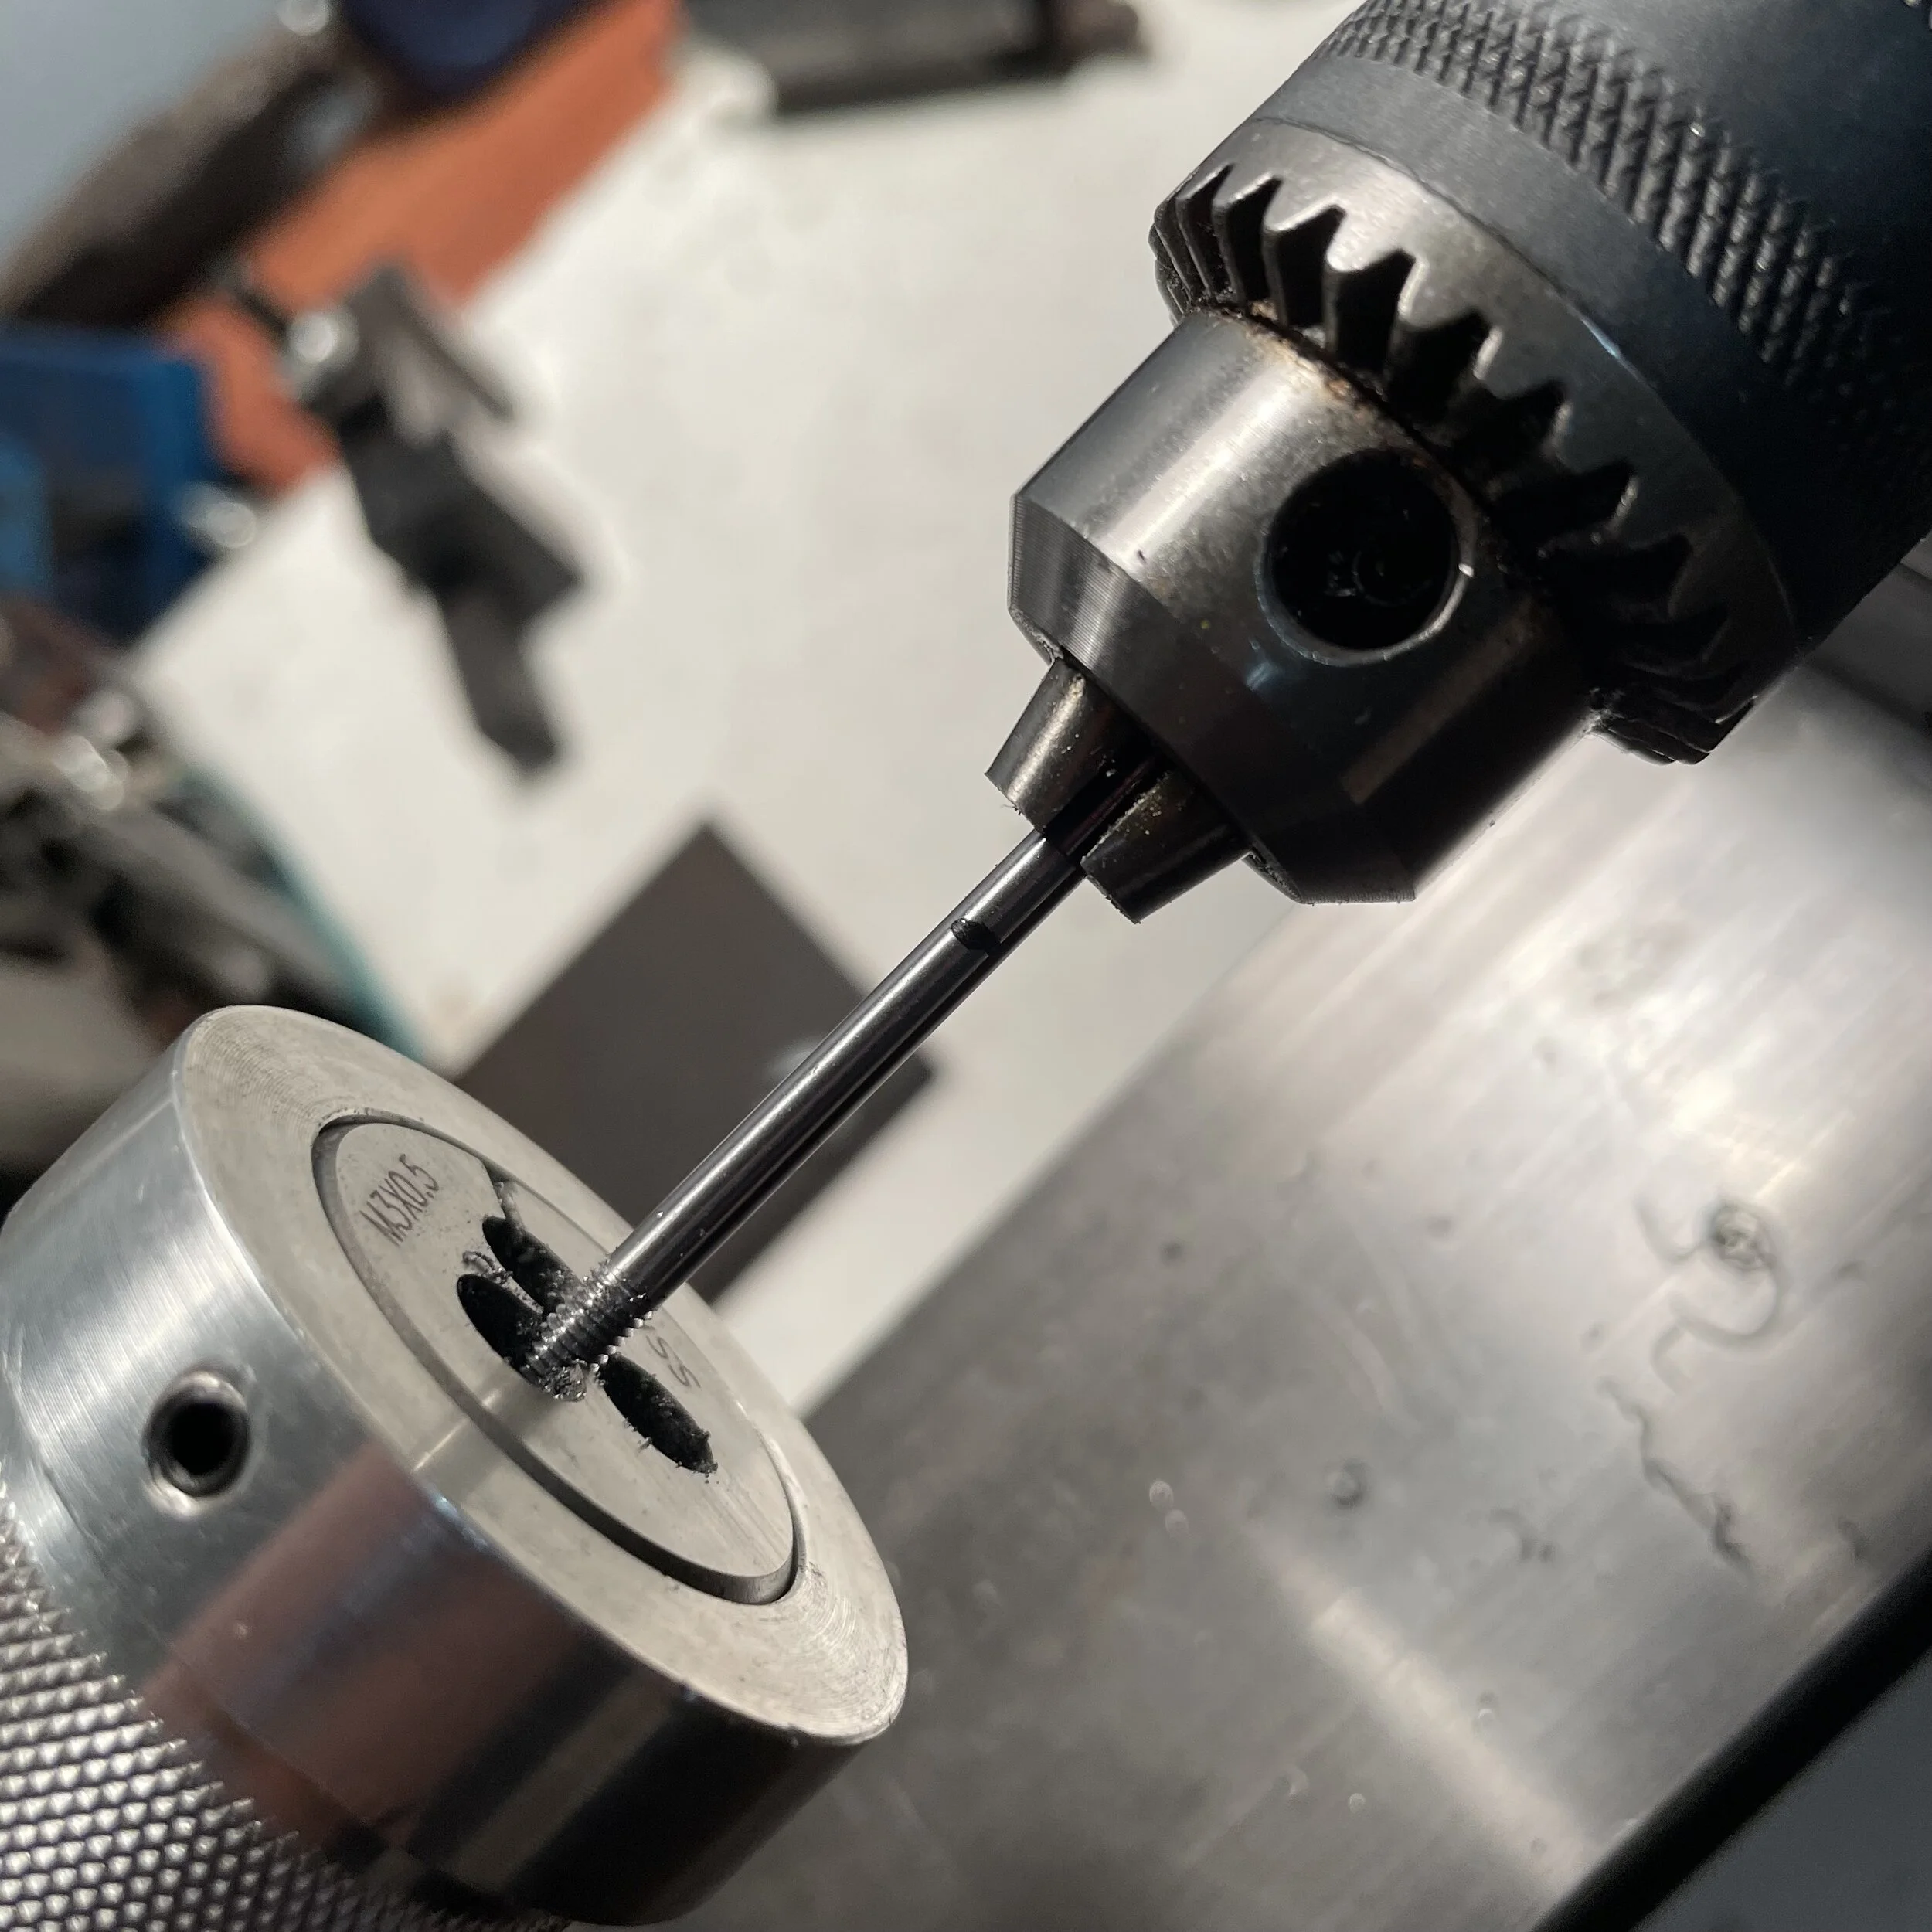
Threading the screw for my button is the next step. This is easily done on a mini lathe with a few attachments. I thread one end to secure it to the button and the other to progress into the eyelet.

A piece of ebony is then picked out and fastened onto the screw to start our button.

We go back to the lathe to turn the ebony down until it fits our rings. After that the rings are glued and pinned in and the button is turned once more to round everything and turn the collar at the base of the button.

Facets are then filed into the button by hand at which point I’ll inlay the pearl into the end as well. The facets are then sanded down to 3000 grit and polished.

With the finished frog I’ll shape the bottom facets of the stick to match the frogs underslide.

The stick mortis is then drilled out on the bottom facet of the stick. After which the end is drilled out. This will house our eyelet and screw which is the mechanism that enables us to tension our bows.

My favorite part is when all the pieces come together, and it looks more like a bow!

Time for the final graduations! I’ll determine the thickness and tapper of the graduations based off the model I am following and the density and flexibility of the material. This is also the point where I determine the final weight of the bow as well.

A little oil over the bow and it’s set in the sun for a few days to oxidize. The material will darken as it oxidizes and turn from a lighter clean-cut look to a more glowing finished feel. After that the bow is lightly sanded to remove the oil and shellacked lightly. No color is added.

The frog is then polished while I wait for the stick to tan.

We then choose the winding that will best match the color of our stick. I chose green for this one to compliment the nice red hue of the pernambuco. Different kinds of windings can be used to adjust the balance point. I would use a heavier silver wrapping or a lighter tinsel. For this bow the tinsel suits its balance point best.

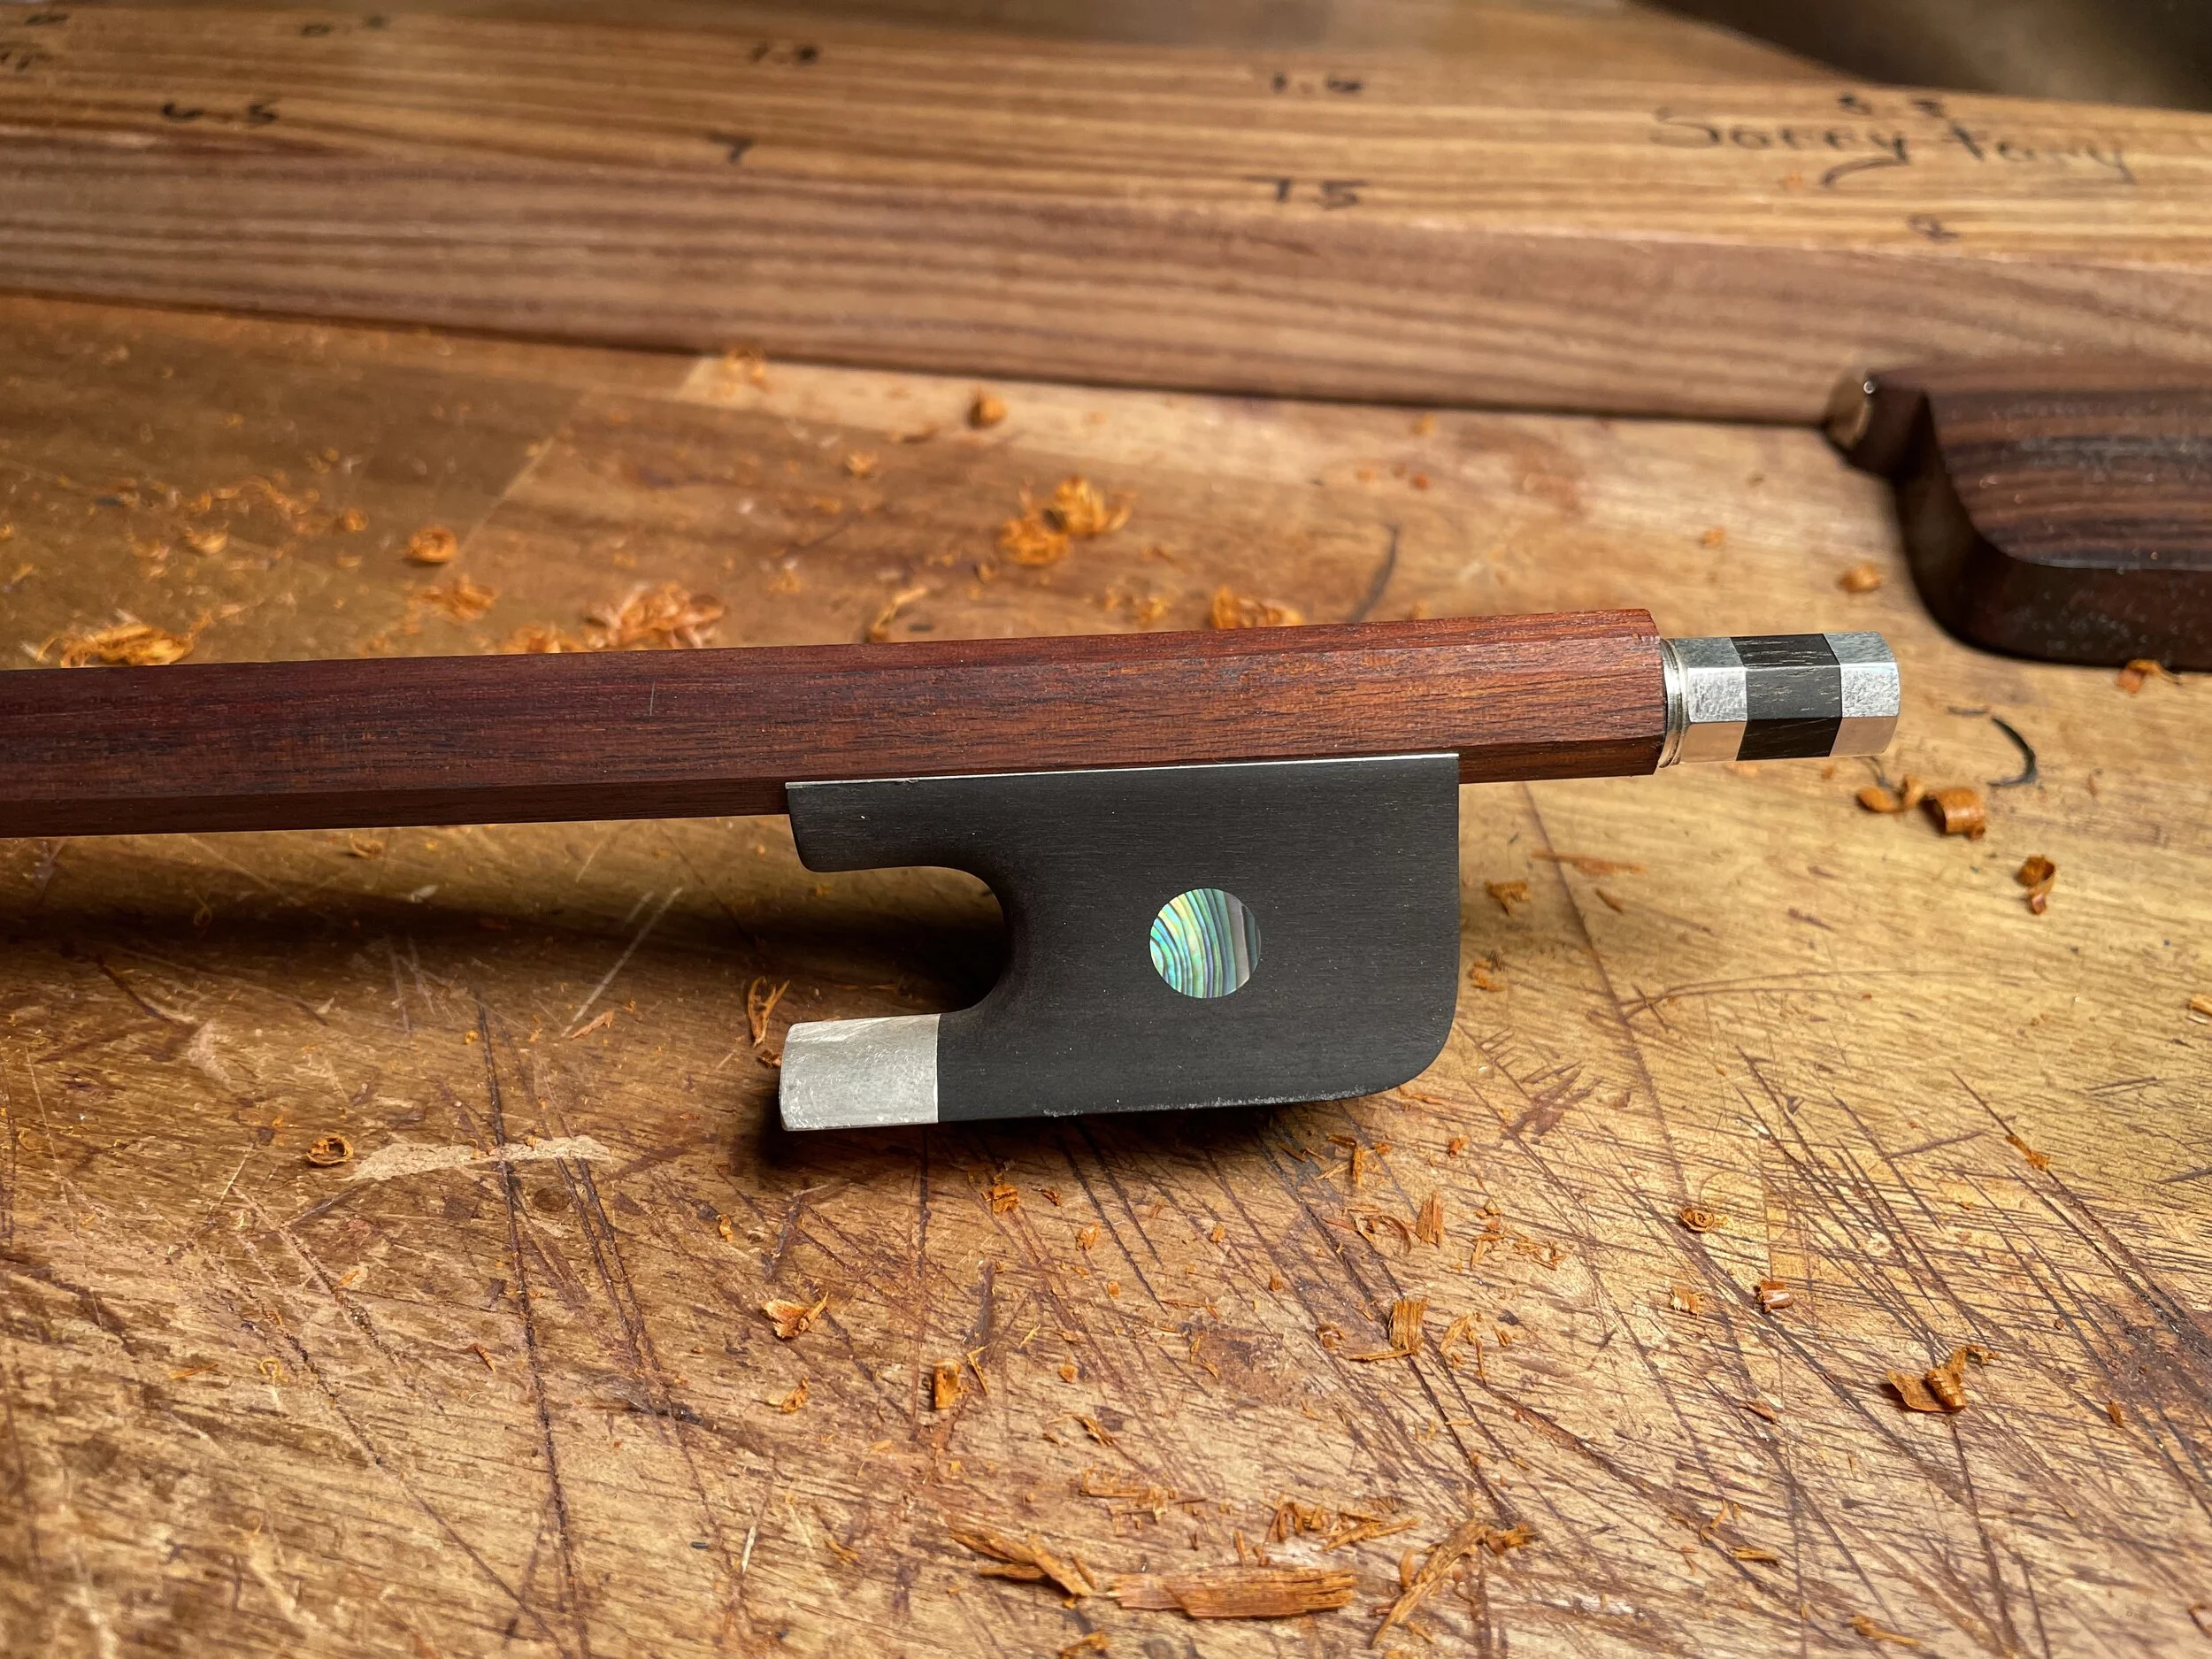
After all that a new cello bow appears, ready to be played! Don’t forget the rosin!


